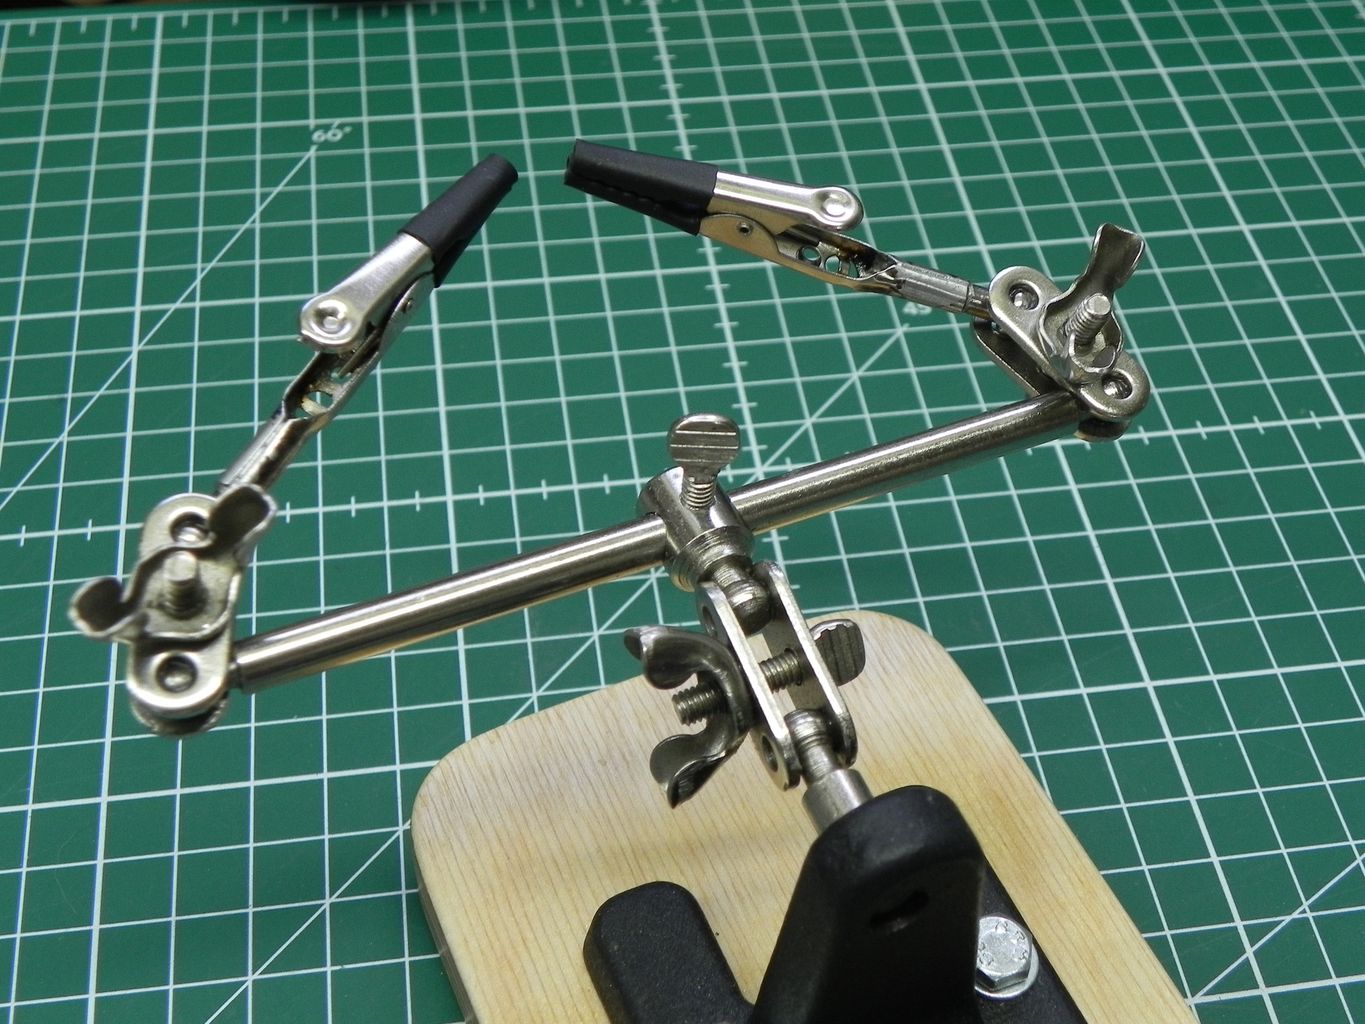
If you solder a lot, you probably own at least one pair of so called “helping hands”. In my experience the ones you get nowadays are less heavy (smaller and therefore lighter foot) and all in all cheaper, than the ones you could buy one or two decades ago. Unfortunately I couldn’t find better ones, even if I wanted to spend more money on them. But don’t despair! There are still some things you can do, to improve the ones you do get.
Heat shrink tubing to the rescue
The simplest thing you can do, is to put some heat shrink tubing on both clamping jaws. The metal teeth can easily leave scratch marks on the PCB, perfboard or whatever else your helping hands are holding.
Also, in my experience, the clamps will hold on better to slippery surfaces. Only downside: You need to replace the heat shrink tubing from time to time, since it will get damaged after using it for a while.
Making the clamps stronger
The next thing you can do, is to improve the clamping jaws. Some of the helping hands use jaws, that sit inside a sleeve and are fastened tight by a screw (see picture below).
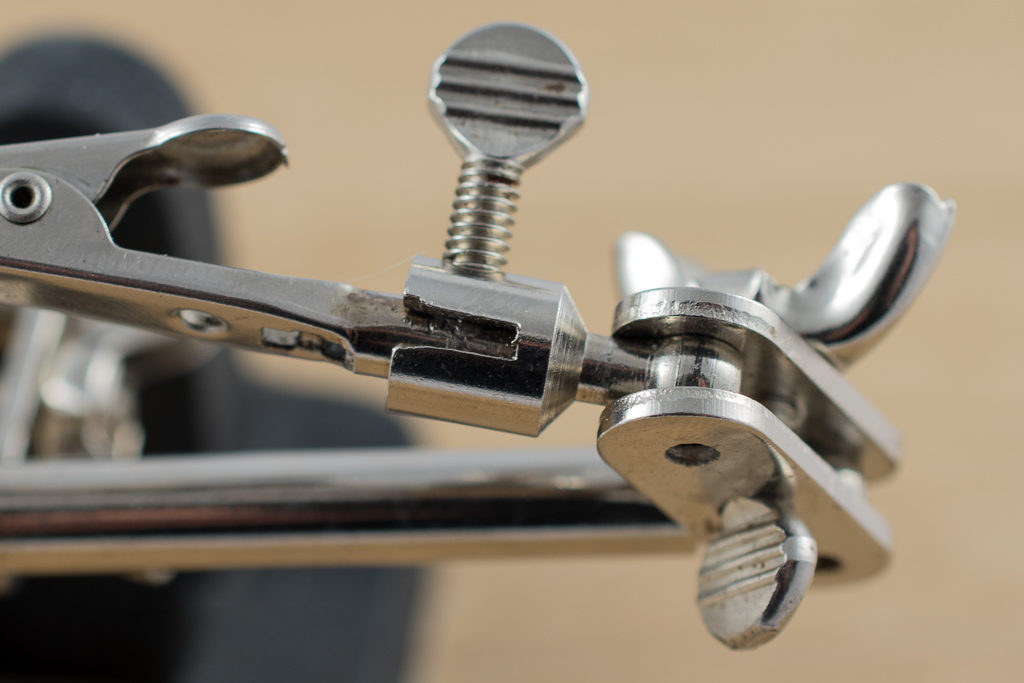
Since the sleeve of the jaws isn’t very robust, it gets squeezed together over time. To circumvent this, I used a small piece of brass tubing, to make the part, that has to take the pressure of the screw, more stable. To make it stay there, I simply soldered it (see picture below). I recommend to use some soldering paste for this and clean it up with some alcohol afterwards.

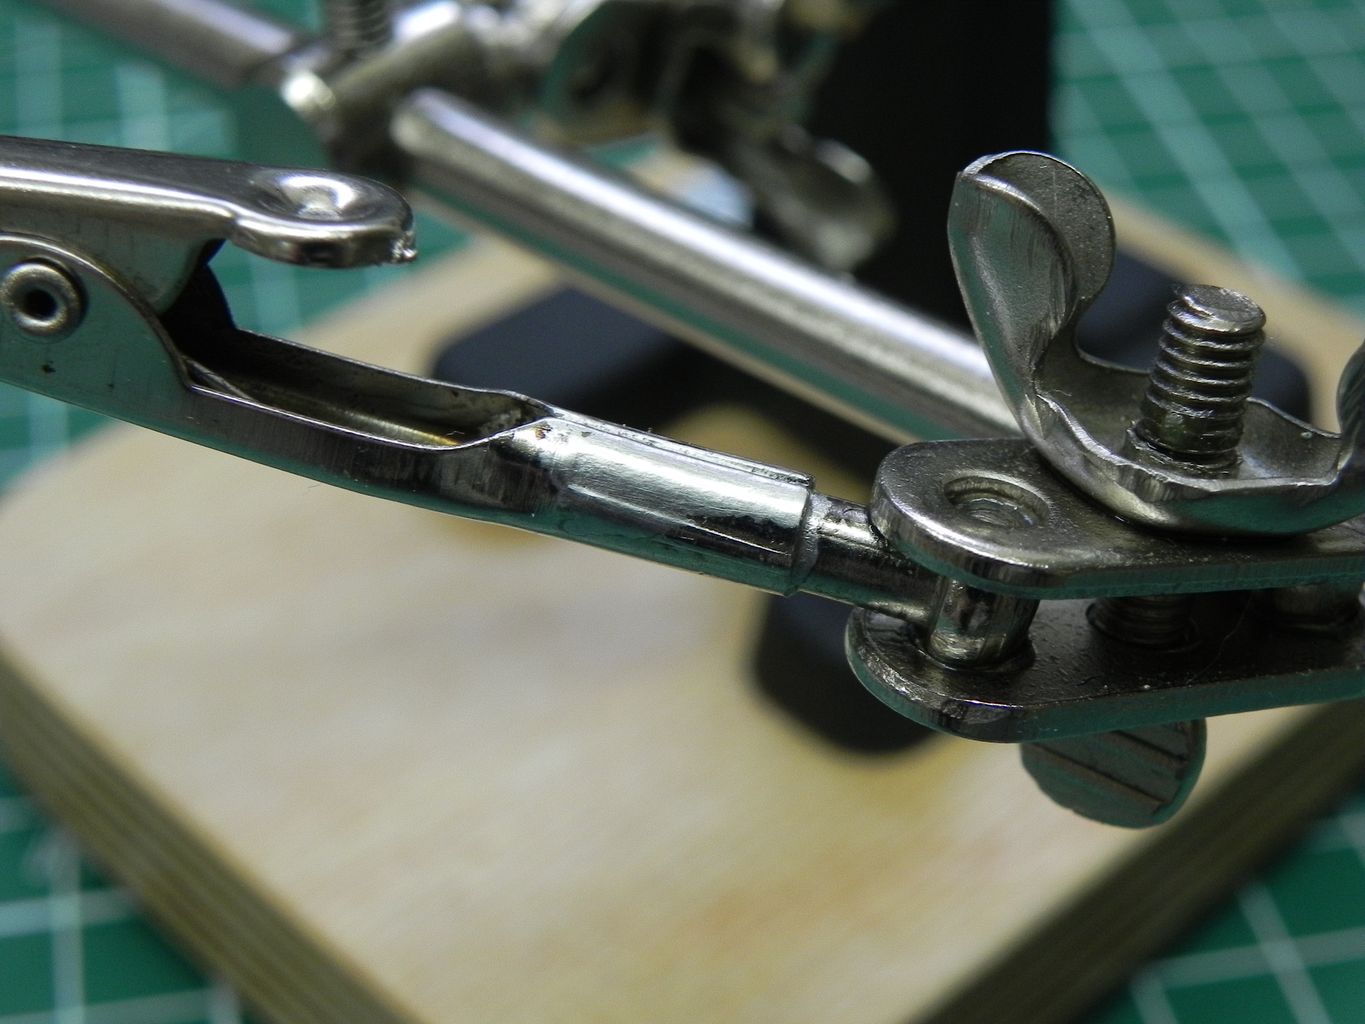
Other helping hands use another approach to attach the clamping jaws: They are put on to a rod and are supposed to hold themselves in place. Unfortunately, this is even more crappy, since the metal is not nearly strong enough to hold the whole construction tight enough. In this case I decided to simply solder the backside of the clamping jaw onto the rod. The only downside is, that you need to loosen the screw, if you want to rotate the jaw.
Stabilising the foundation
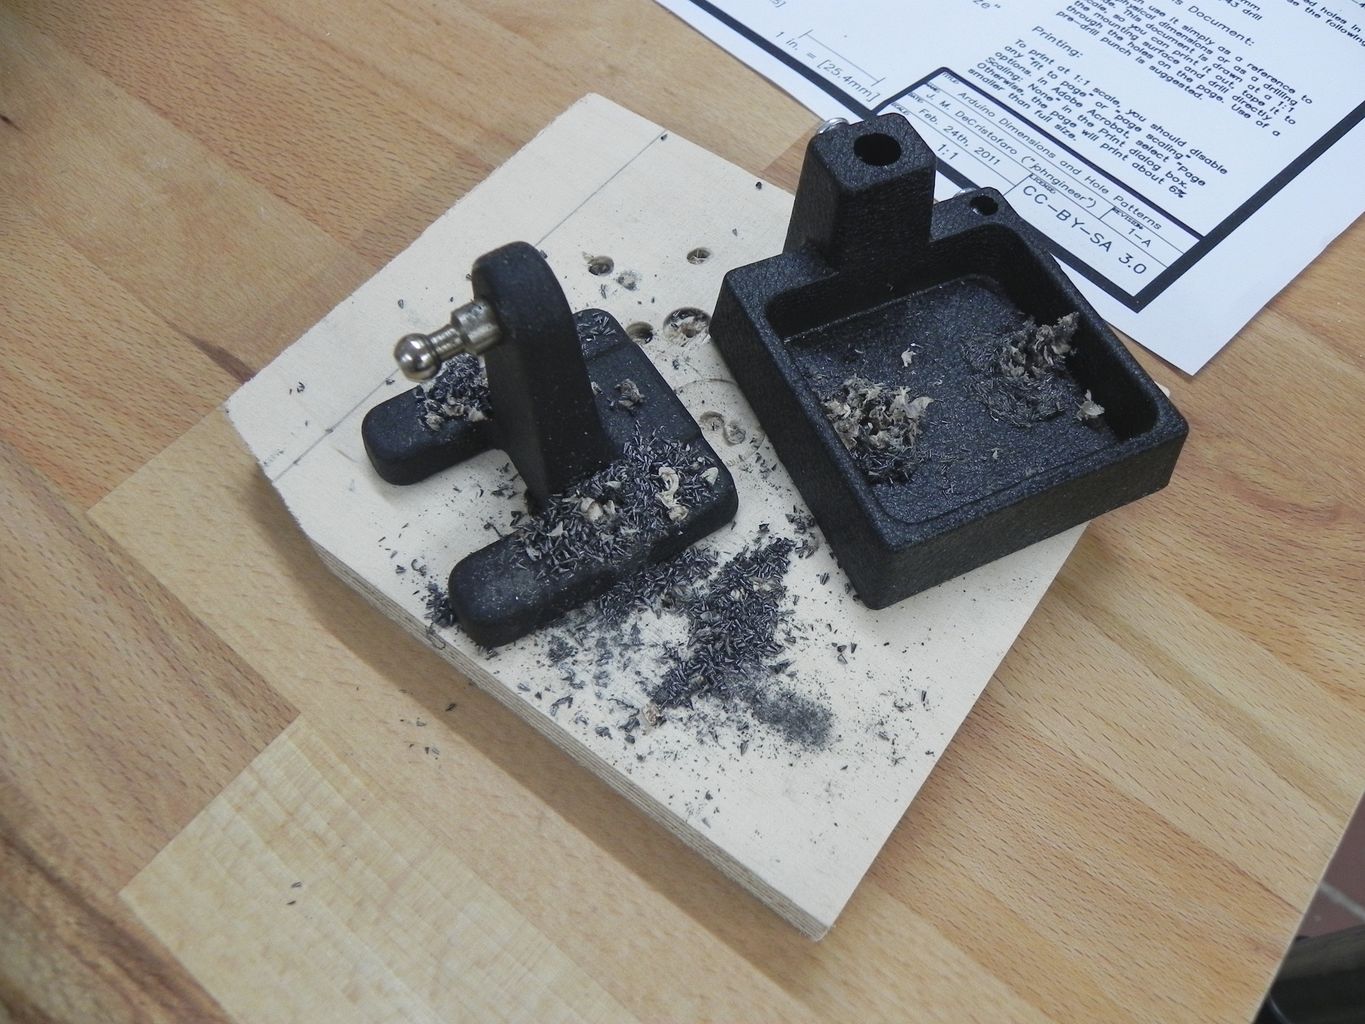
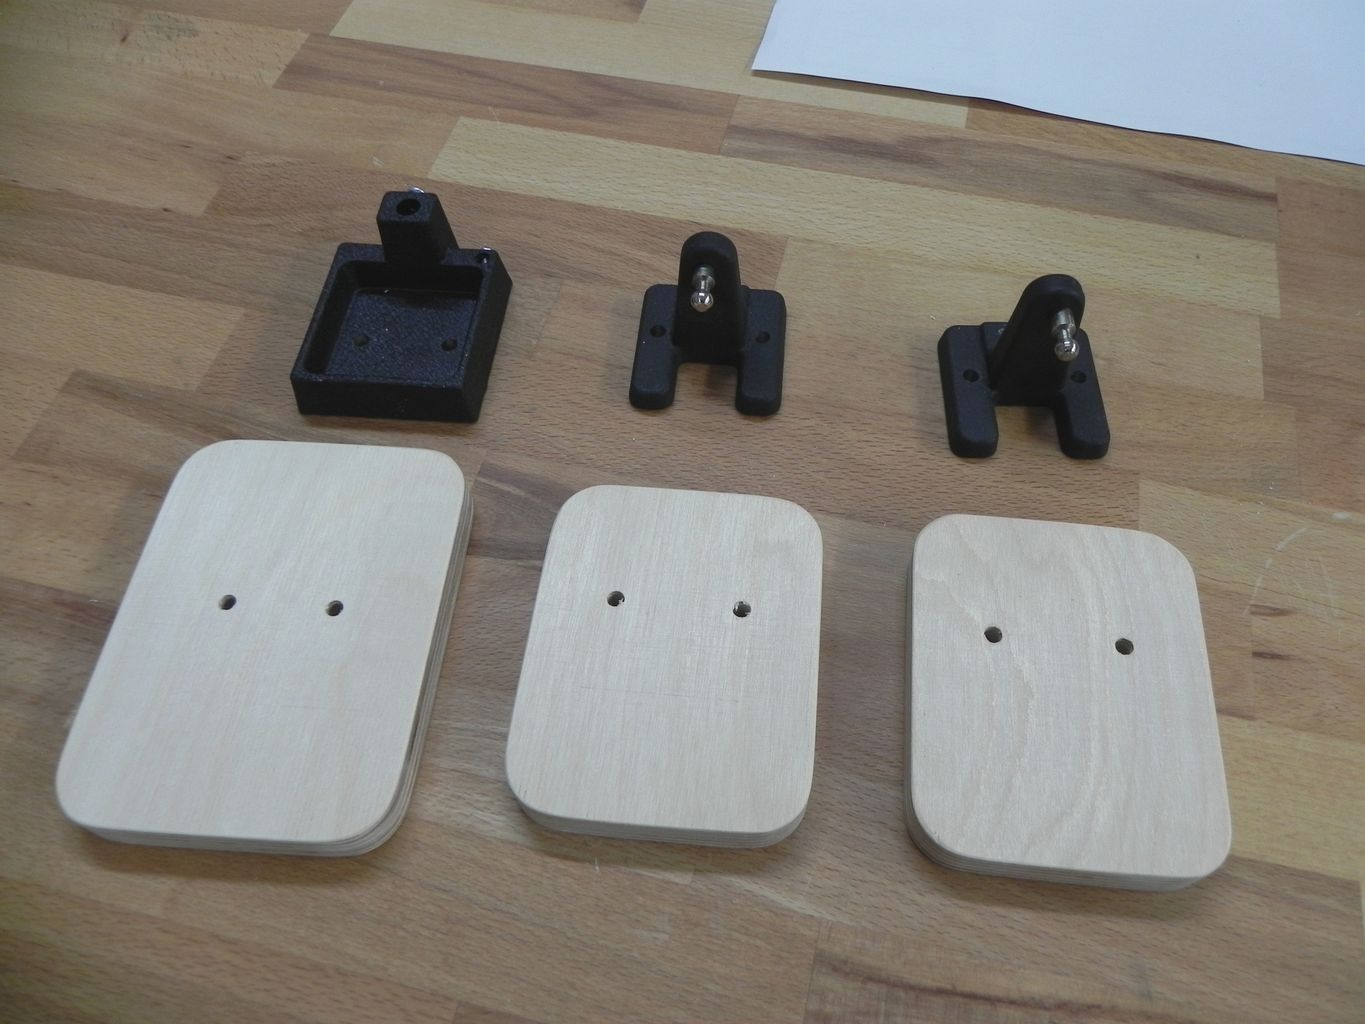
Since the foot of the helping hands is in most cases way too light, the whole construction will tip over at one point. To circumvent this, I mounted the helping hand on a piece of plywood. For this, I drilled two holes in the foot and the piece of wood and simply screwed them together with metal screws.
Wonderfull article right here, keep posting! can i share it?